Organization
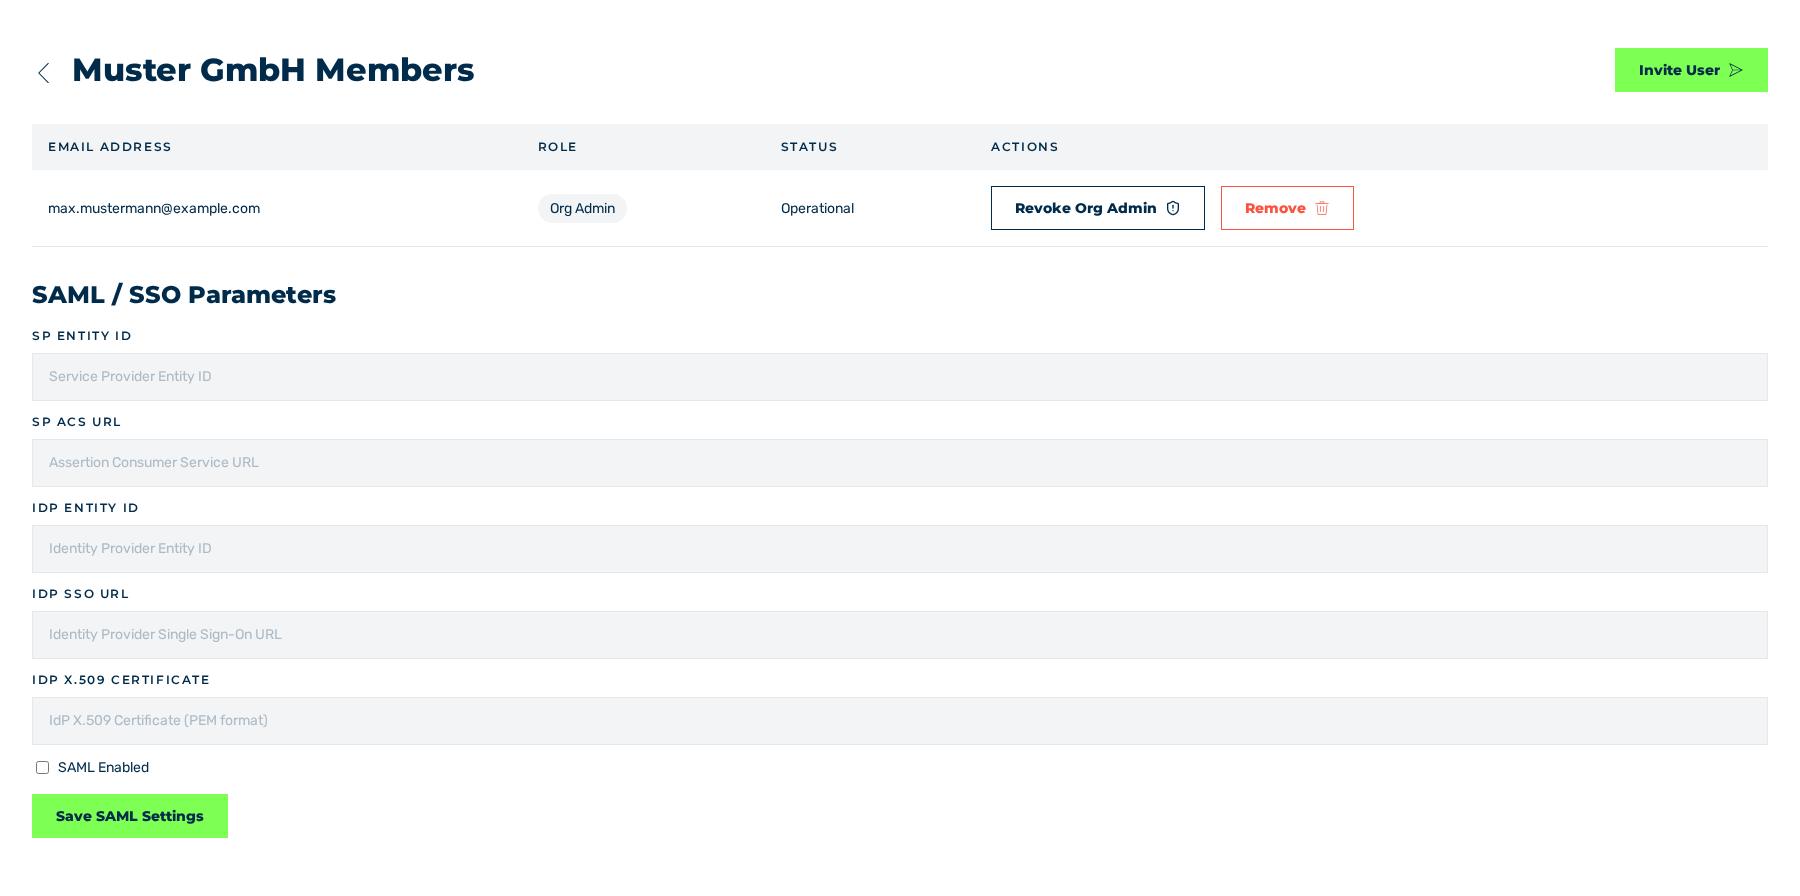
Organization view
The view manages the members of your organisation and the parameters for the login with SAML and SSO. The view is available to accounts with the Org Admin role. The title gives the name of your organisation, followed by Members.
To open the view, use the Manage Members button in the Organization area of the Profile tab.
Table of the members
The table contains these columns:
| Column | Contents |
|---|---|
| Email Address | E-mail address of the member |
| Role | Role of the member as a mark |
| Status | Condition of the account |
| Actions | Buttons for the entry |
While no member is available, the table shows the No Members note.
The Invite User button next to the title opens the Invite User dialog.
Roles
These roles are available:
| Role | Rights |
|---|---|
| Member | Uses the product in the limits of the related sitekeys. |
| Org Admin | Also manages the members and the settings for SAML and SSO. |
Status
The Status column has one of these values:
| Value | Meaning |
|---|---|
| Operational | The account is confirmed and ready for use. |
| Pending Verification | The invitation was sent, but the account is not confirmed yet. |
Actions
The Actions column contains these buttons:
| Button | Effect |
|---|---|
| Make Org Admin | Opens the Grant Org Admin dialog. The button is shown for a member with the Member role. |
| Revoke Org Admin | Opens the Revoke Org Admin dialog. The button is shown for a member with the Org Admin role. |
| Remove | Opens the Remove Member dialog. |
Each of the three dialogs gives the e-mail address of the member and contains the Close and Confirm buttons.
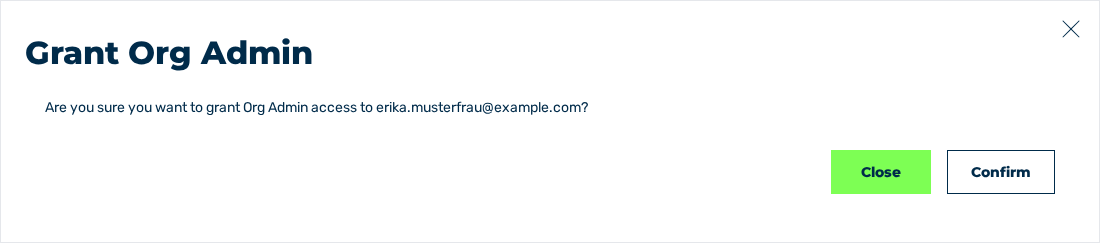
Grant Org Admin dialog
SAML / SSO Parameters area
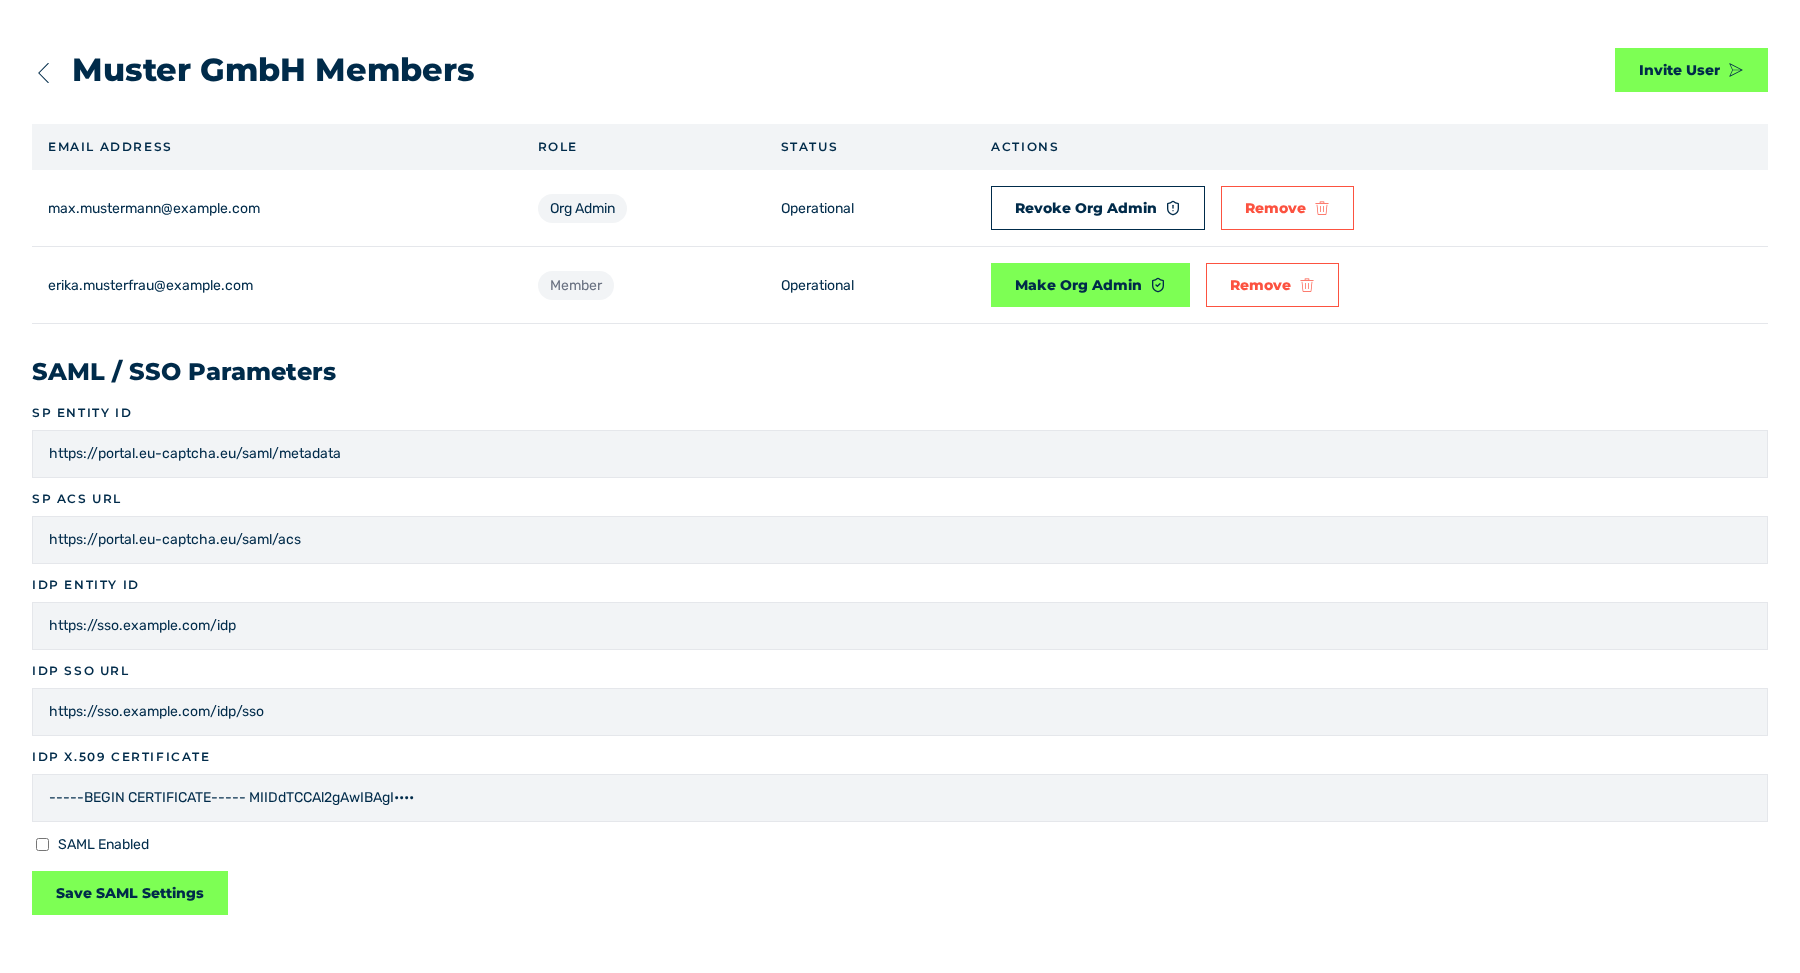
SAML / SSO Parameters area
The SAML / SSO Parameters area connects your organisation with an identity provider. It contains these fields:
| Field | Contents |
|---|---|
| SP Entity ID | Identifier of the service provider, given by Myra EU CAPTCHA |
| SP ACS URL | Address of the service provider for the return of the login |
| IdP Entity ID | Identifier of your identity provider |
| IdP SSO URL | Login address of your identity provider |
| IdP X.509 Certificate | Certificate of your identity provider in the PEM format |
The SAML Enabled check box activates the login with SAML. The Save SAML Settings button applies the data. After the save operation, the SAML Settings message with the SAML settings saved successfully. text is shown.
See Invite a member.
See Set up SAML.