Joomla
The plugin for Joomla connects to the standard CAPTCHA interface of Joomla. Thus, each form with a CAPTCHA field is protected without your own source code.
Requirements
The following requirements must be met:
| Requirement | Value |
|---|---|
| Joomla | version 4.x, 5.x, or 6.x |
| PHP | from version 8.1 |
| Access | Administration area of Joomla |
Install the plugin
Proceed as follows to install the plugin:
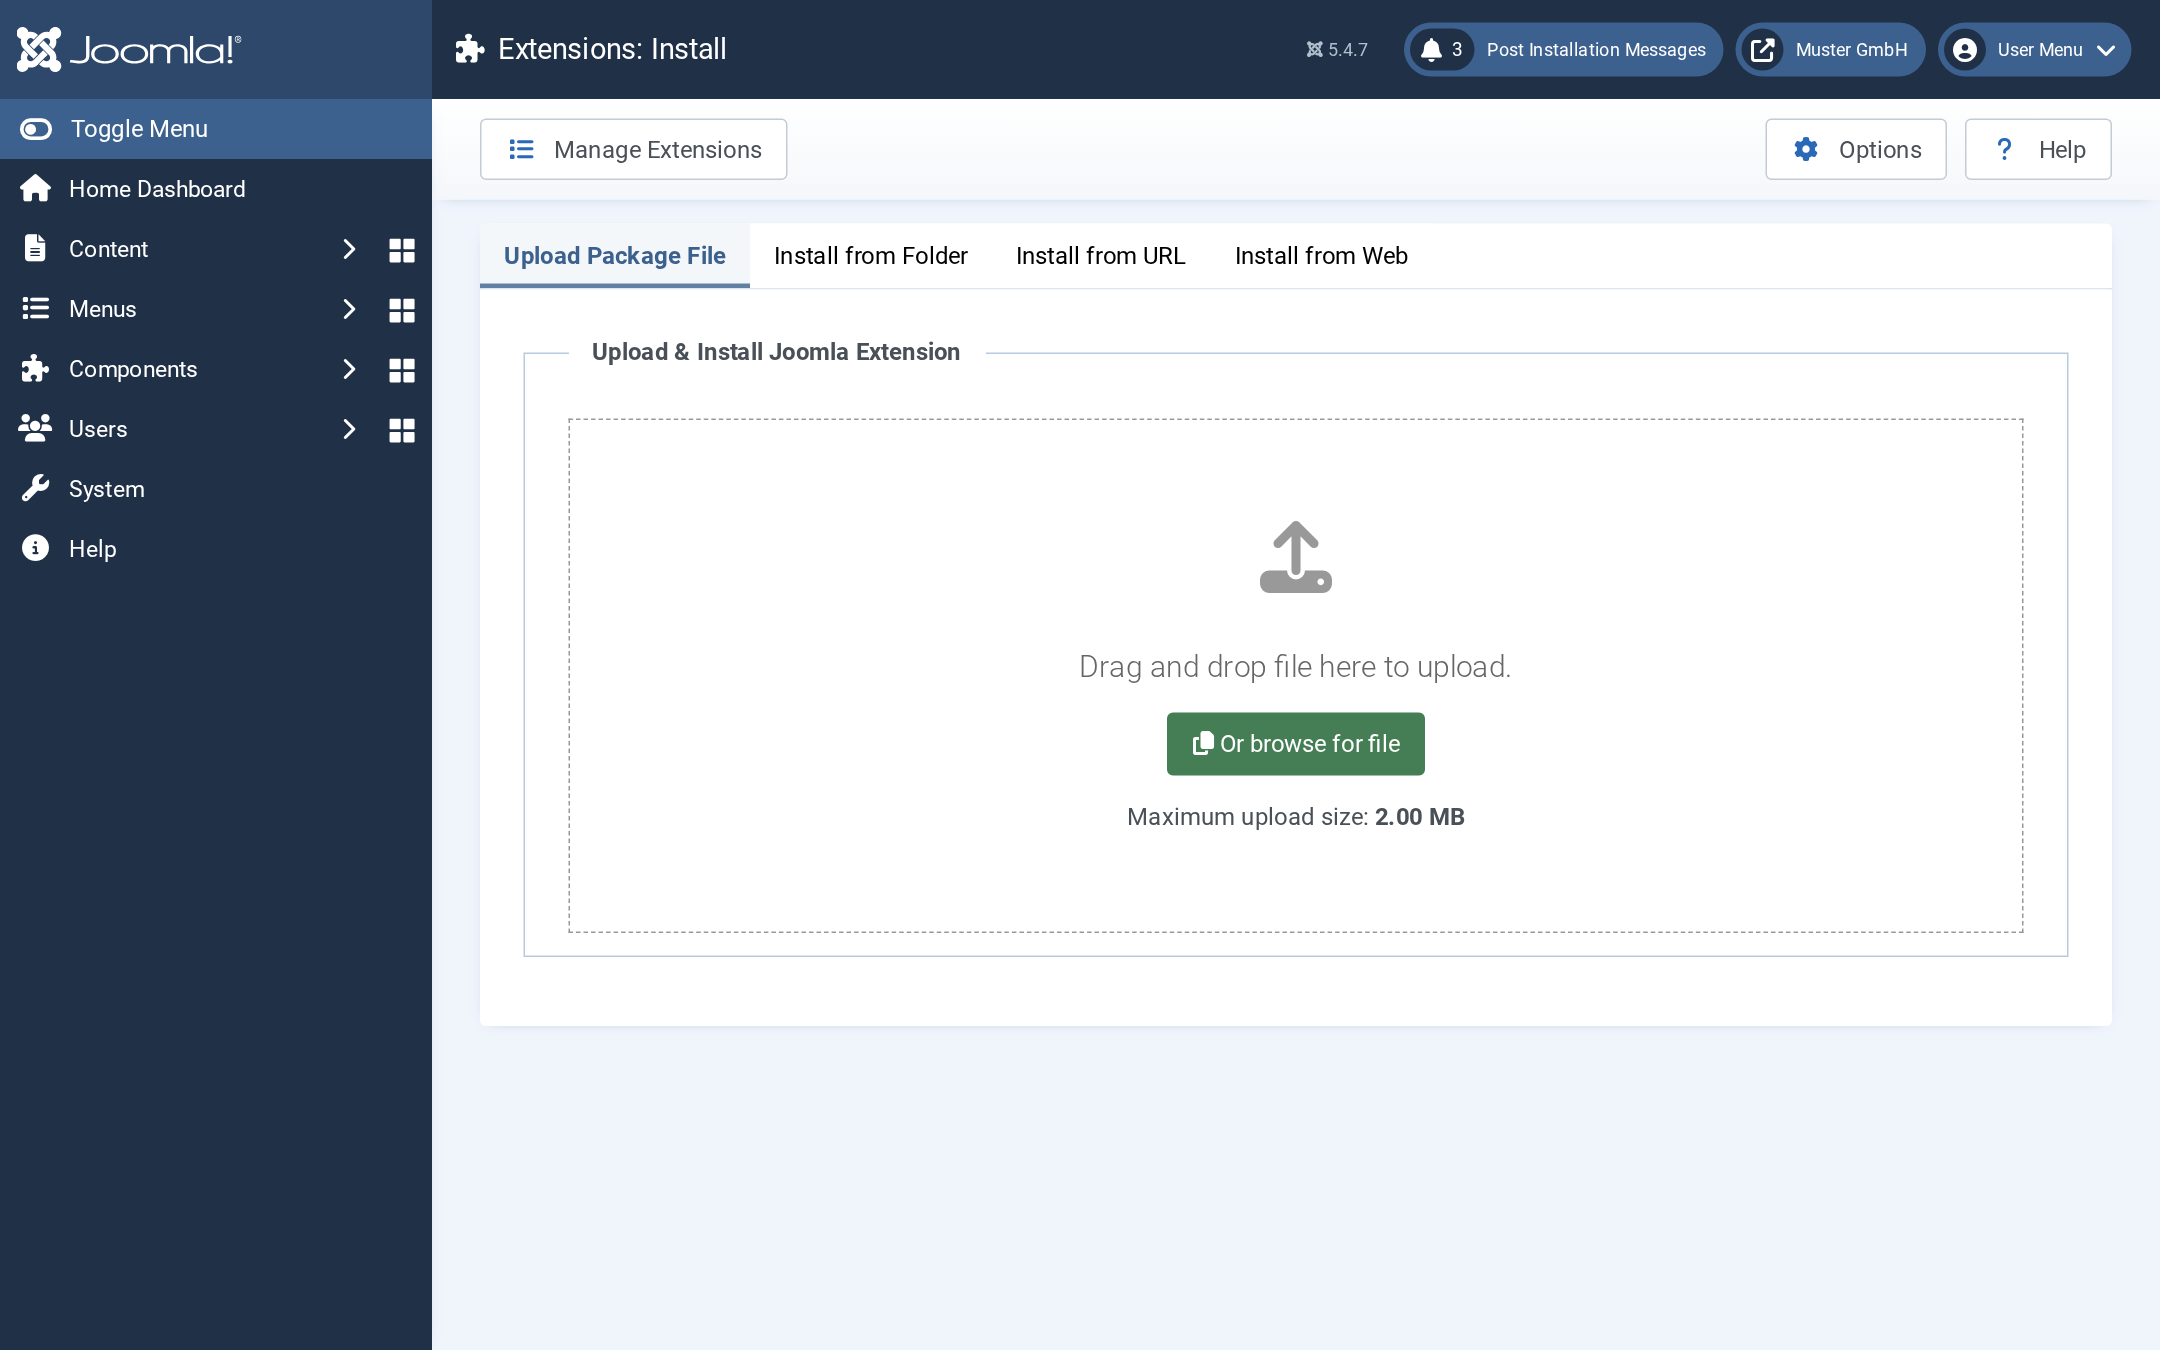
Extensions: Install view
- ► Download the
pkg_eucaptcha.zippackage. - ► In the administration area, open the Extensions → Install entry.
- ► In the Upload Package File tab, upload the
pkg_eucaptcha.zipfile. - ↳ Joomla installs the two plugins that are included and shows Installation of the package was successful.
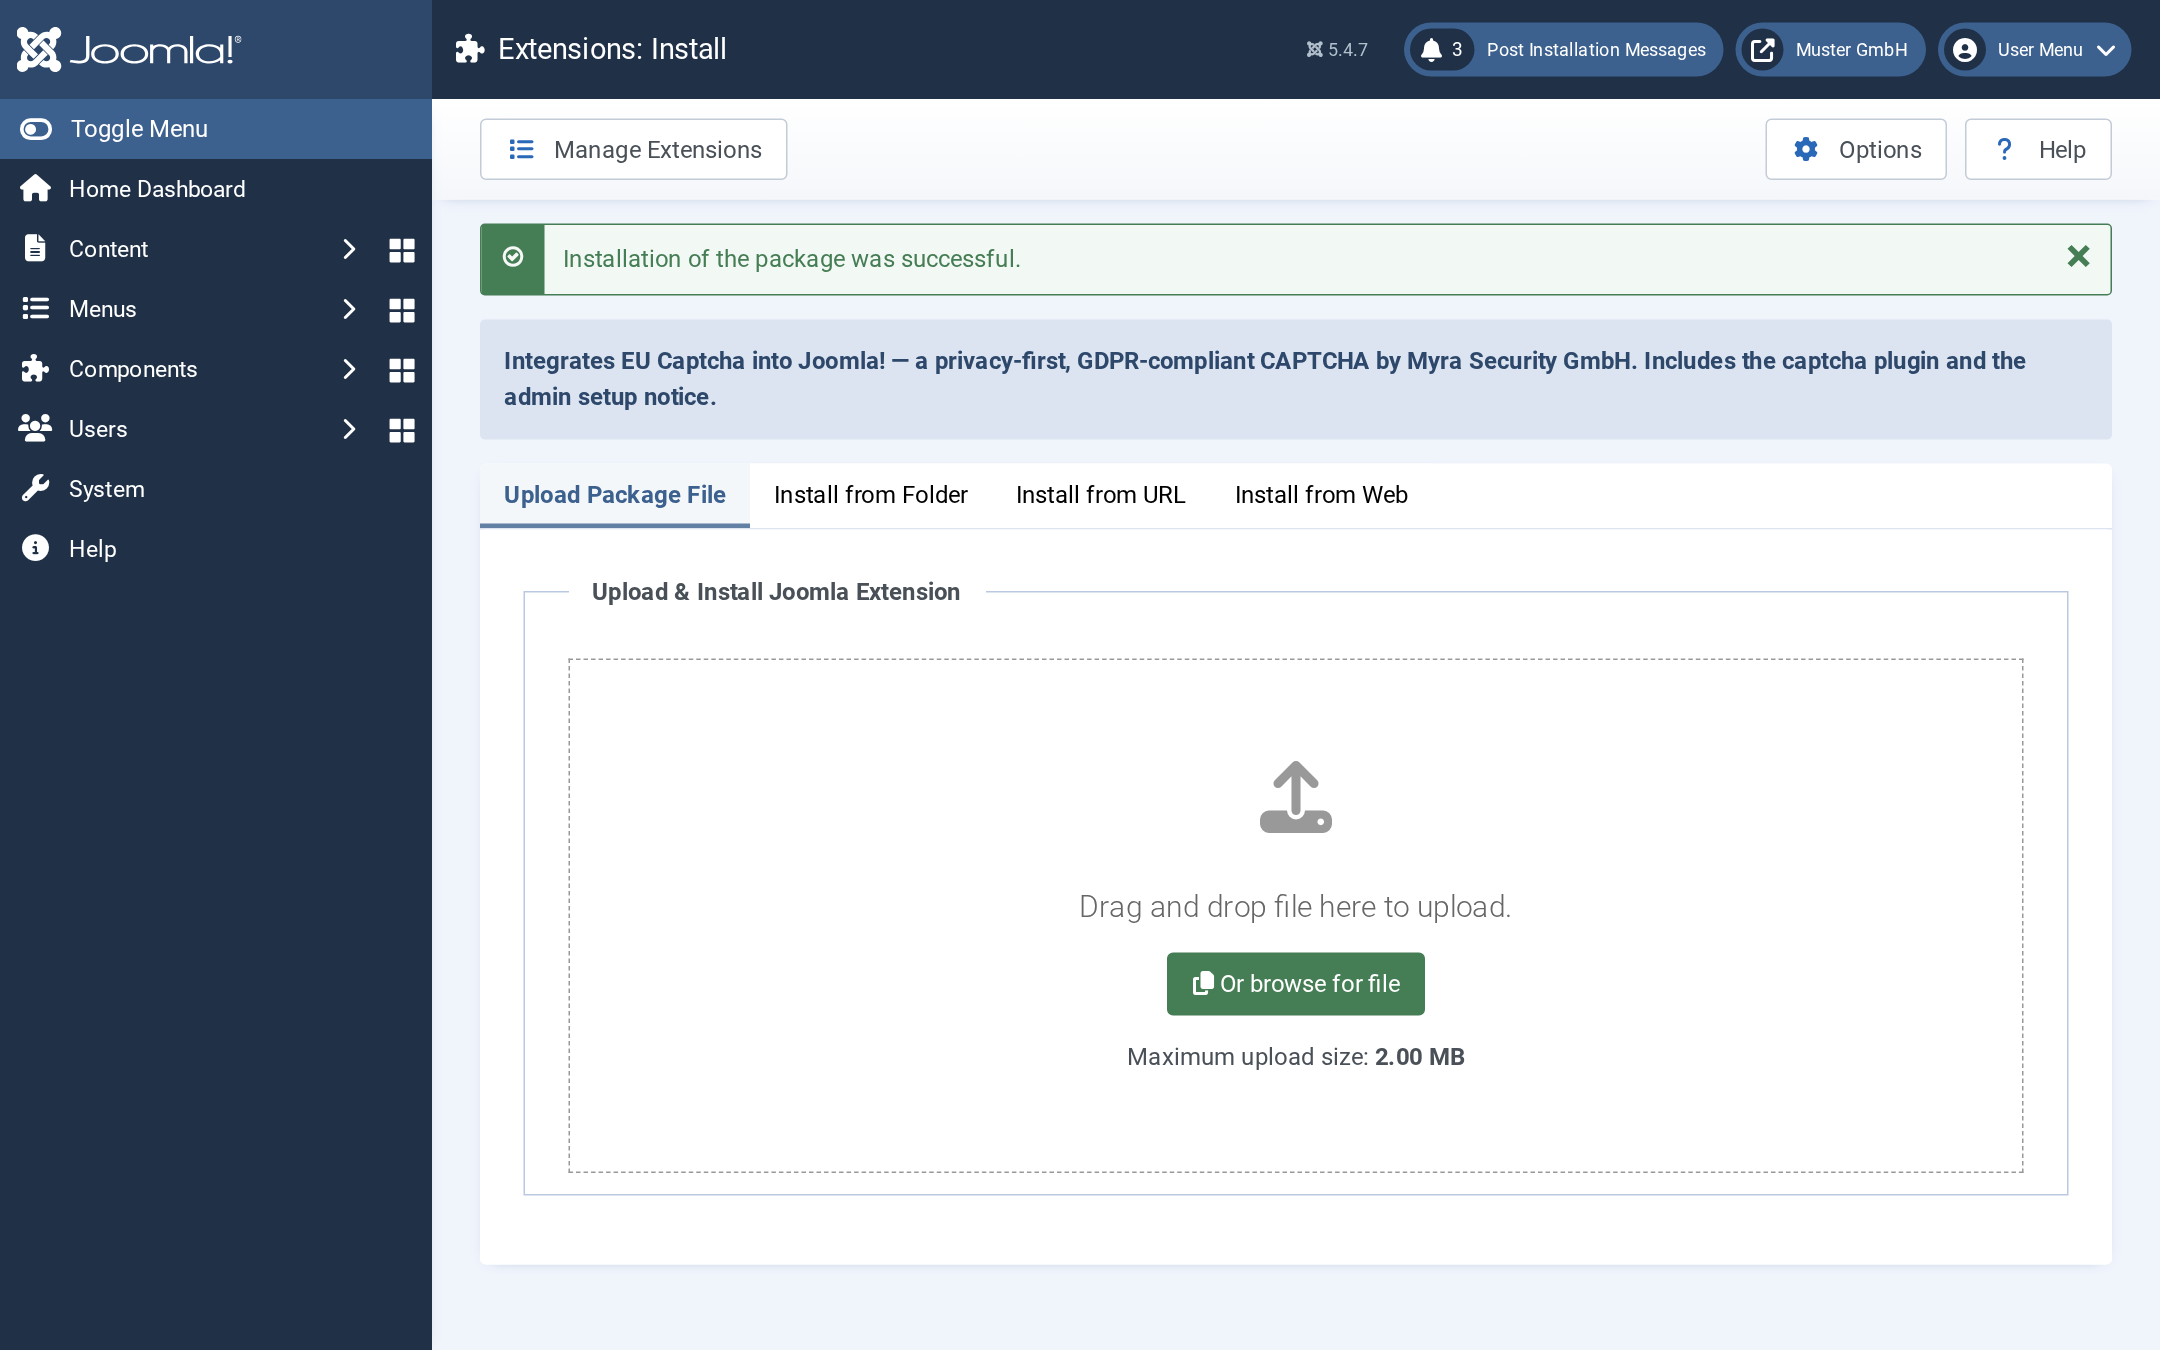
Message after the installation
- ► Open the Extensions → Plugins entry and search for
eu captcha. - ↳ The list shows the EU Captcha and EU Captcha - Admin Notice plugins. The two plugins are disabled.
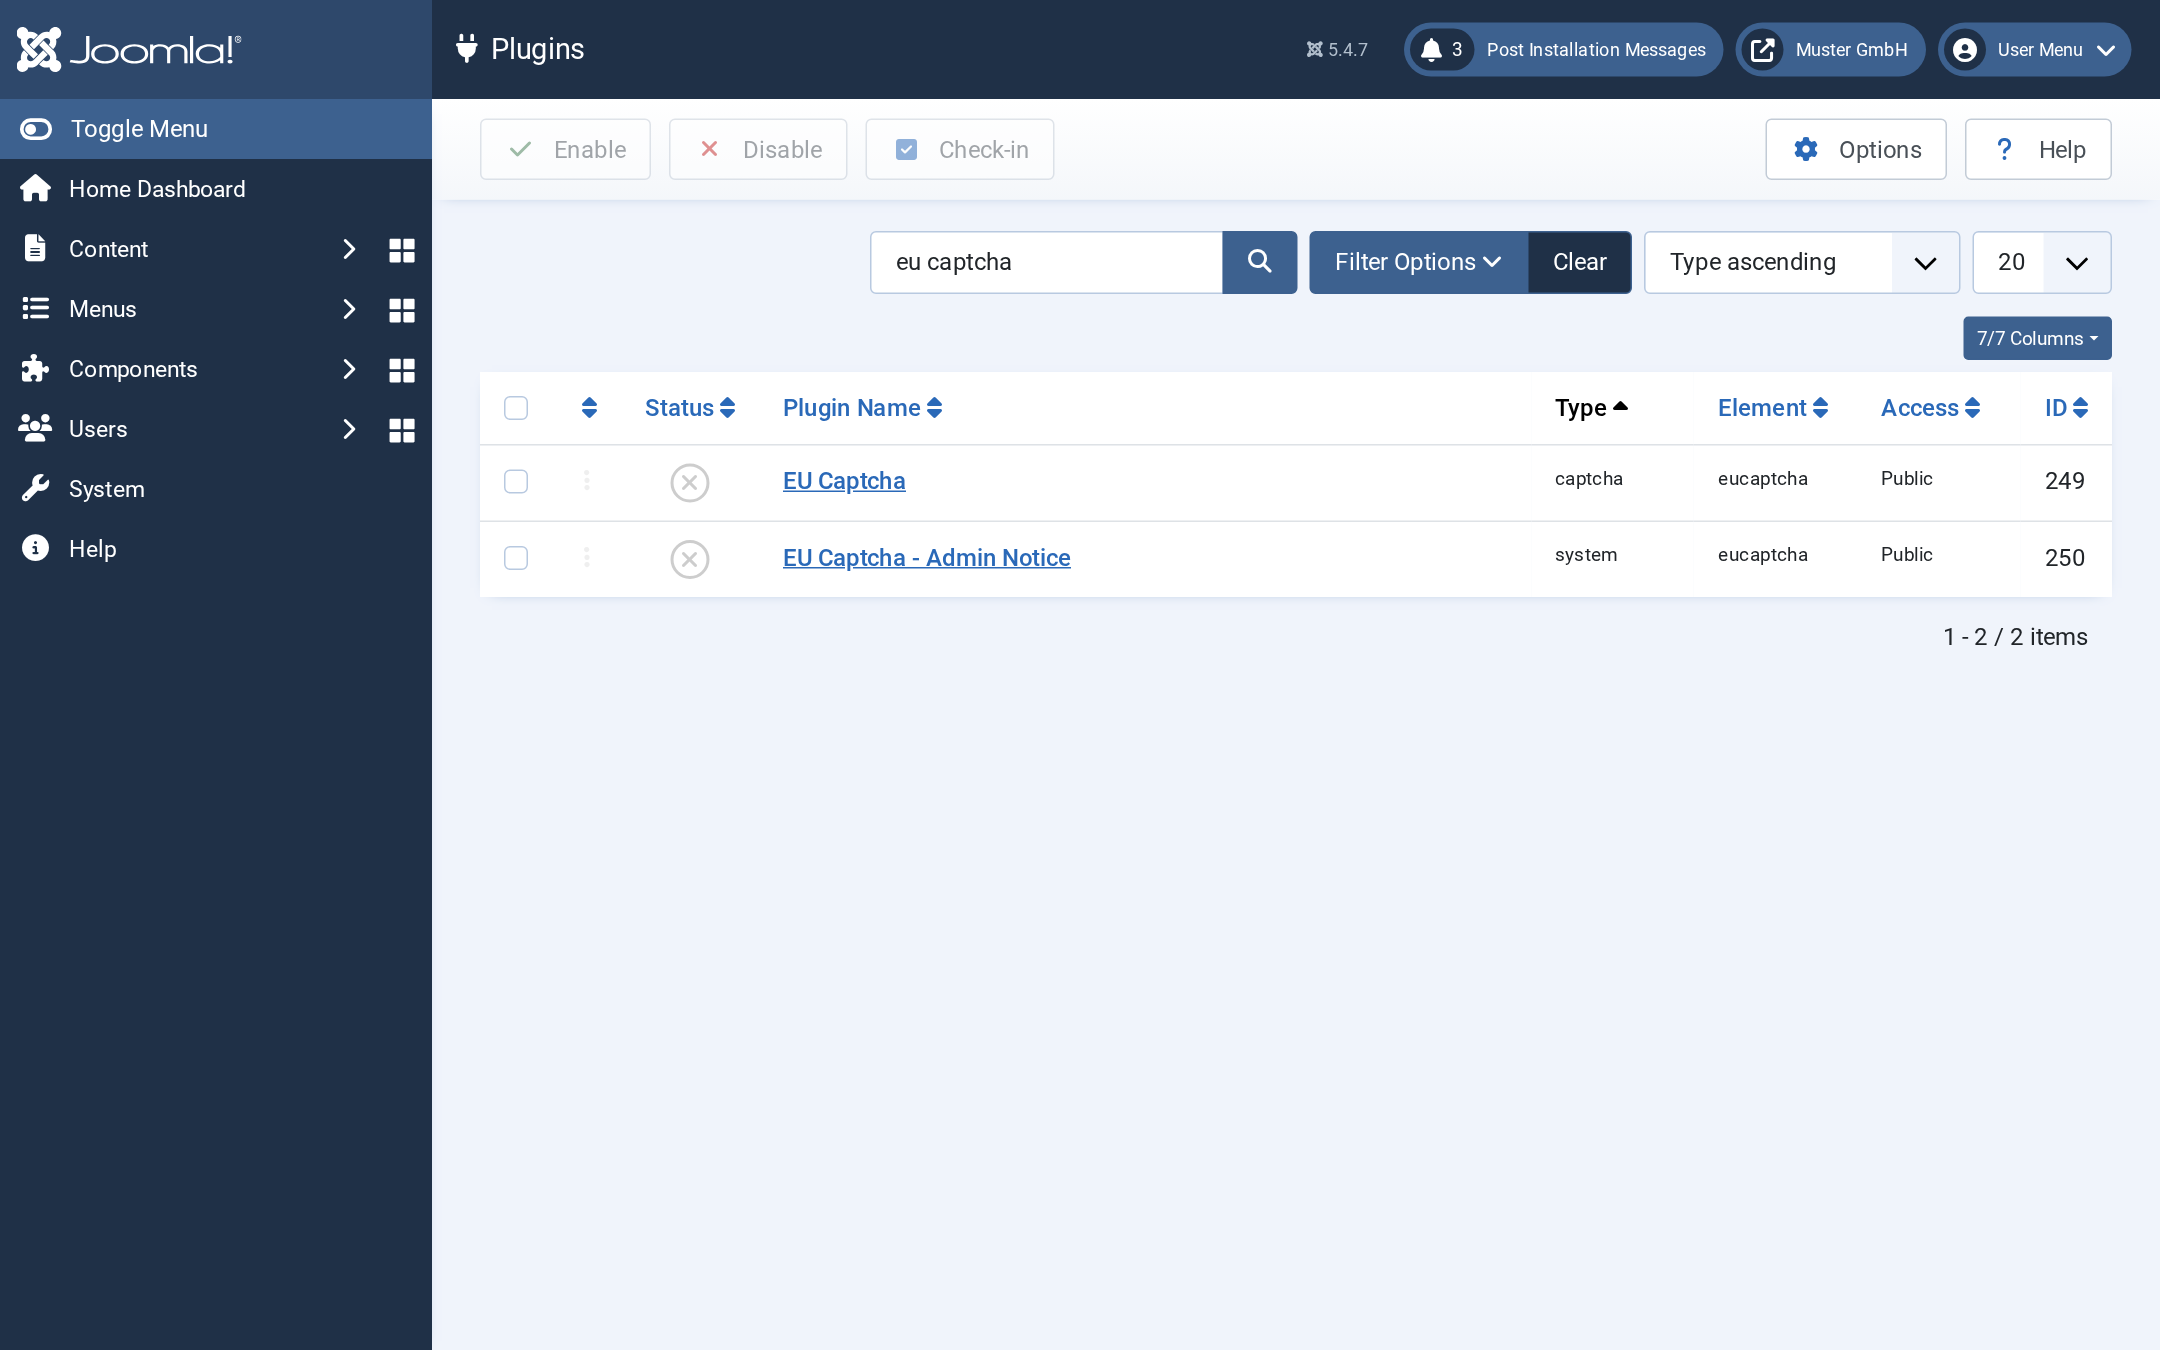
List of the plugins with the two extensions
- ► Select the two plugins and click on the Enable button.
- ➔ The two plugins are enabled.
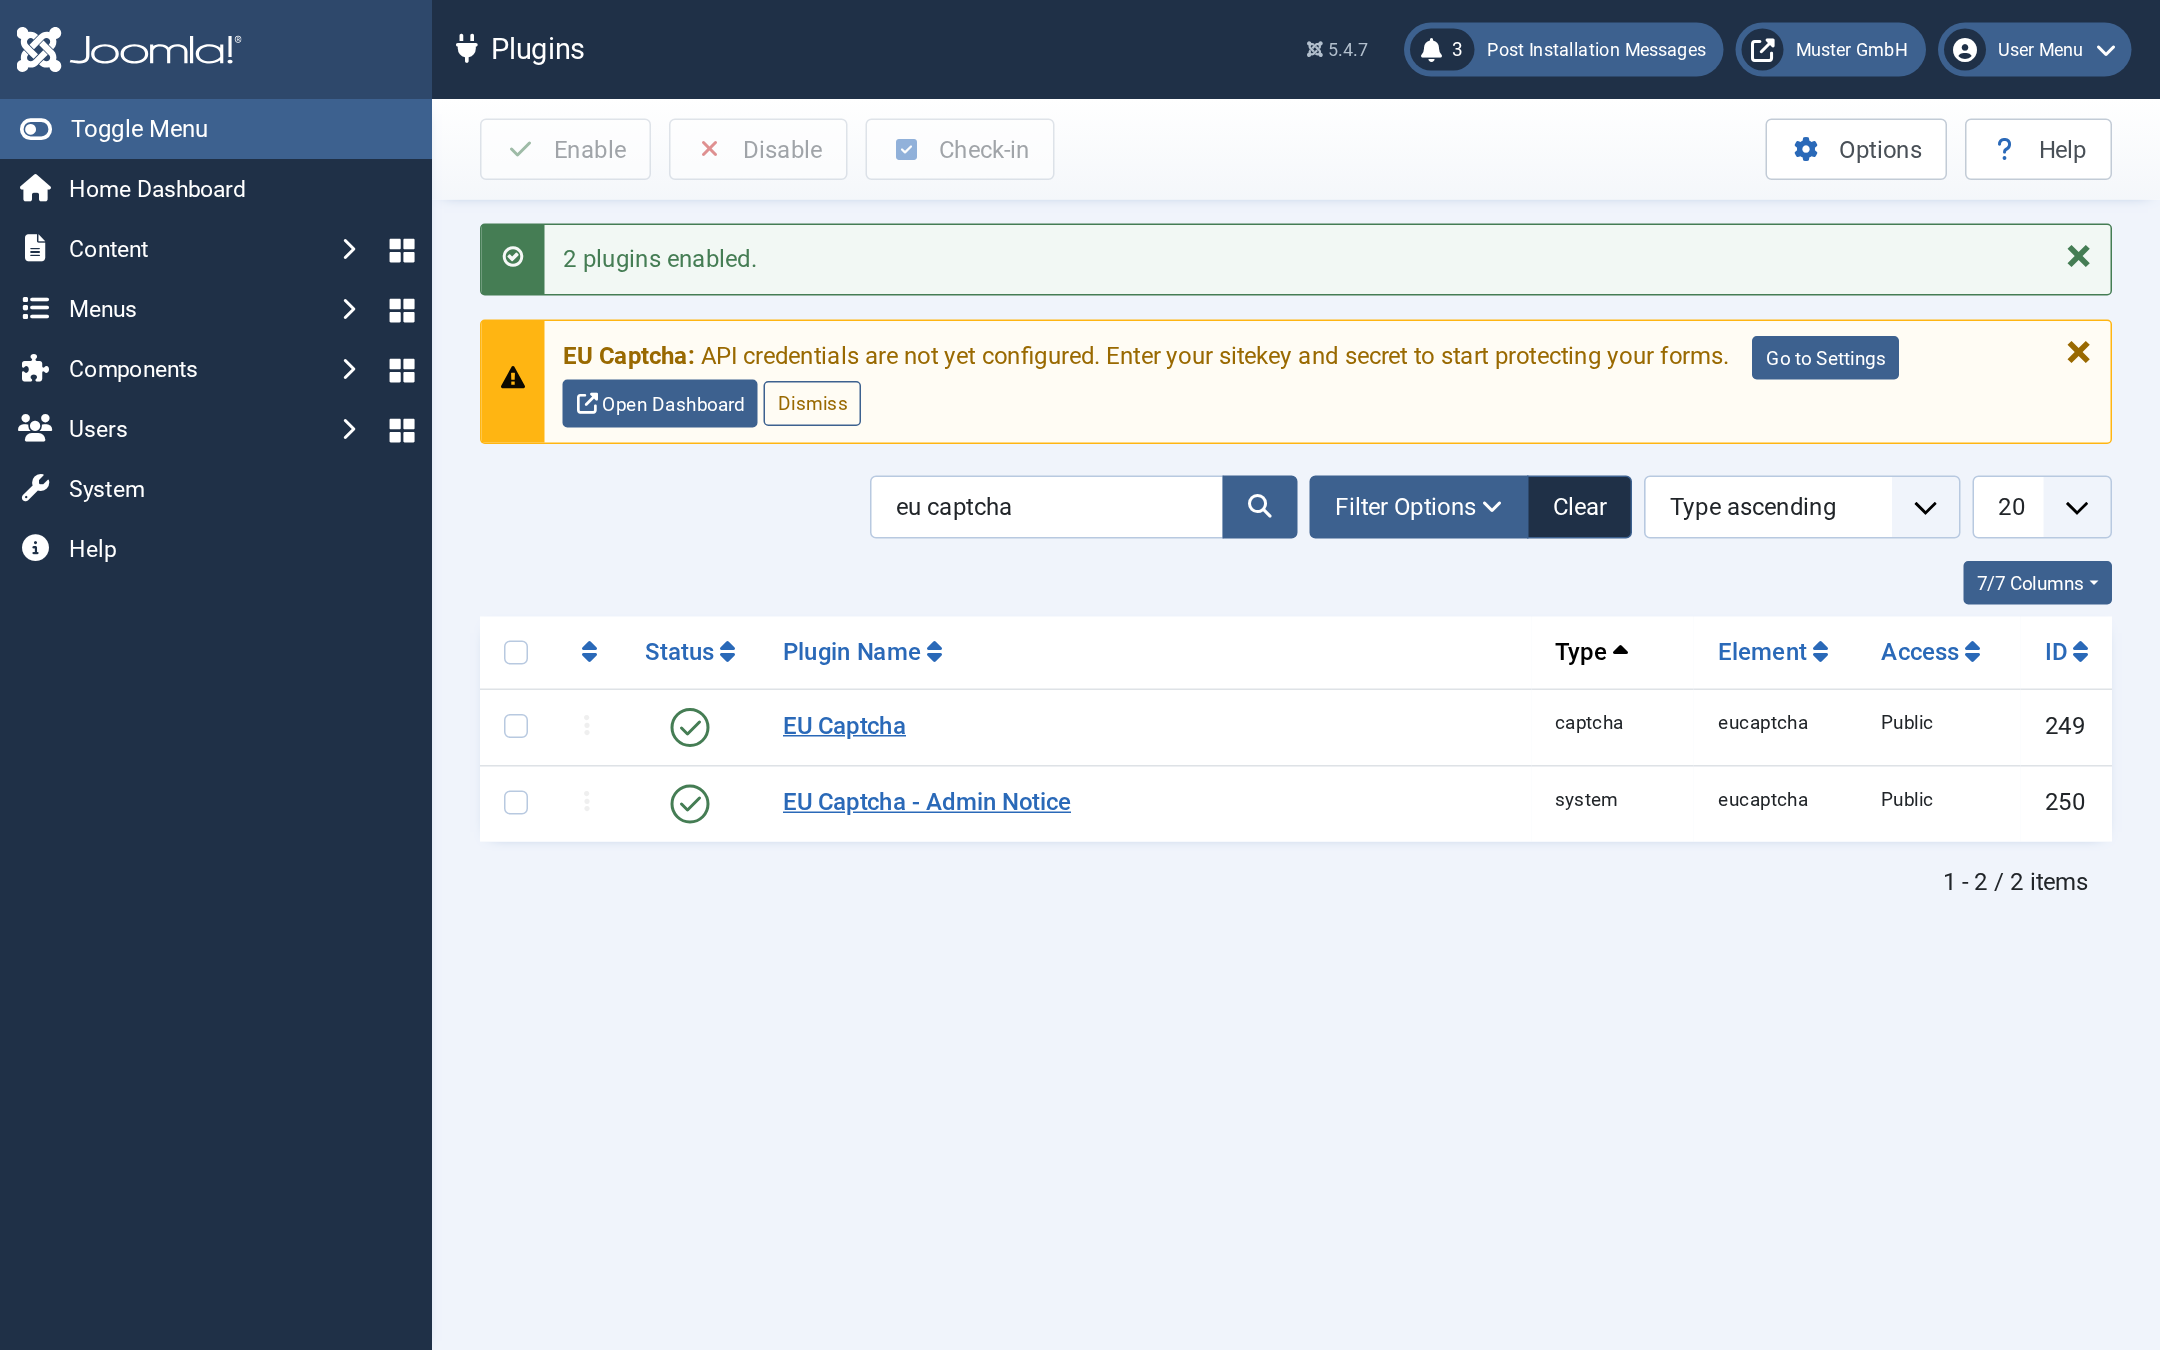
List of the plugins after they are enabled
Store the credentials
Until the configuration is complete, Joomla shows a note on each page of the administration area.
Proceed as follows to store the credentials:

Note in the administration area
- ► In the note, click on the Go to Settings button. As an alternative, open Extensions → Plugins and then the EU Captcha plugin.
- ↳ The settings of the plugin are shown.
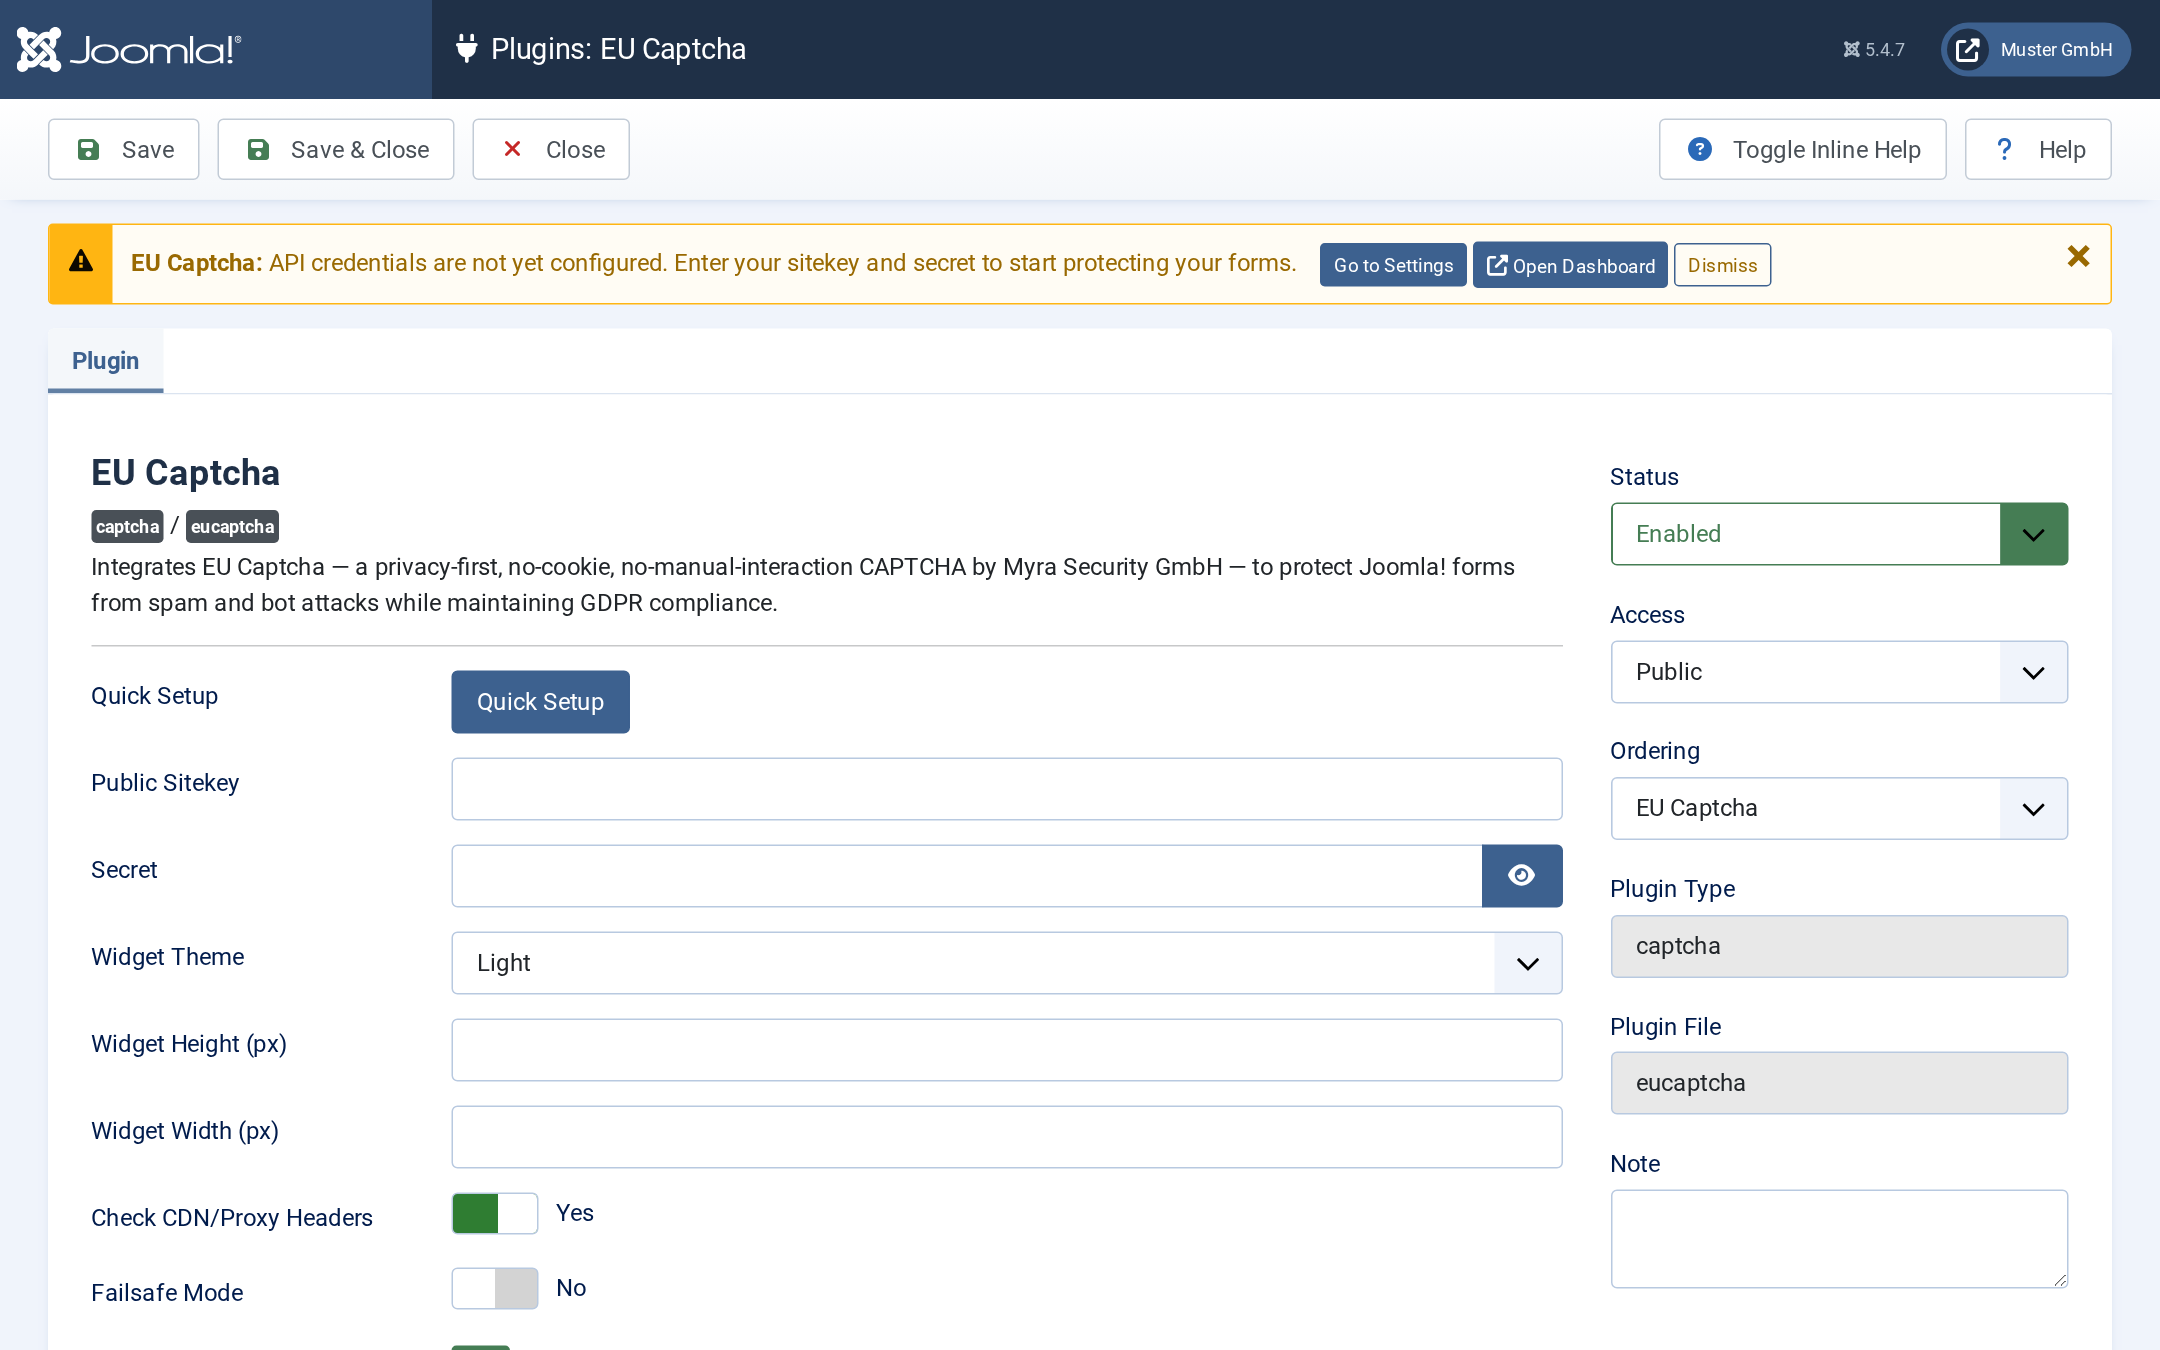
Settings of the EU Captcha plugin
- ► Click on the Quick Setup button.
- ↳ A dialog with the registration portal of Myra EU CAPTCHA is shown.
- ► Complete the registration.
- ➔ The plugin applies the public sitekey and the secret.
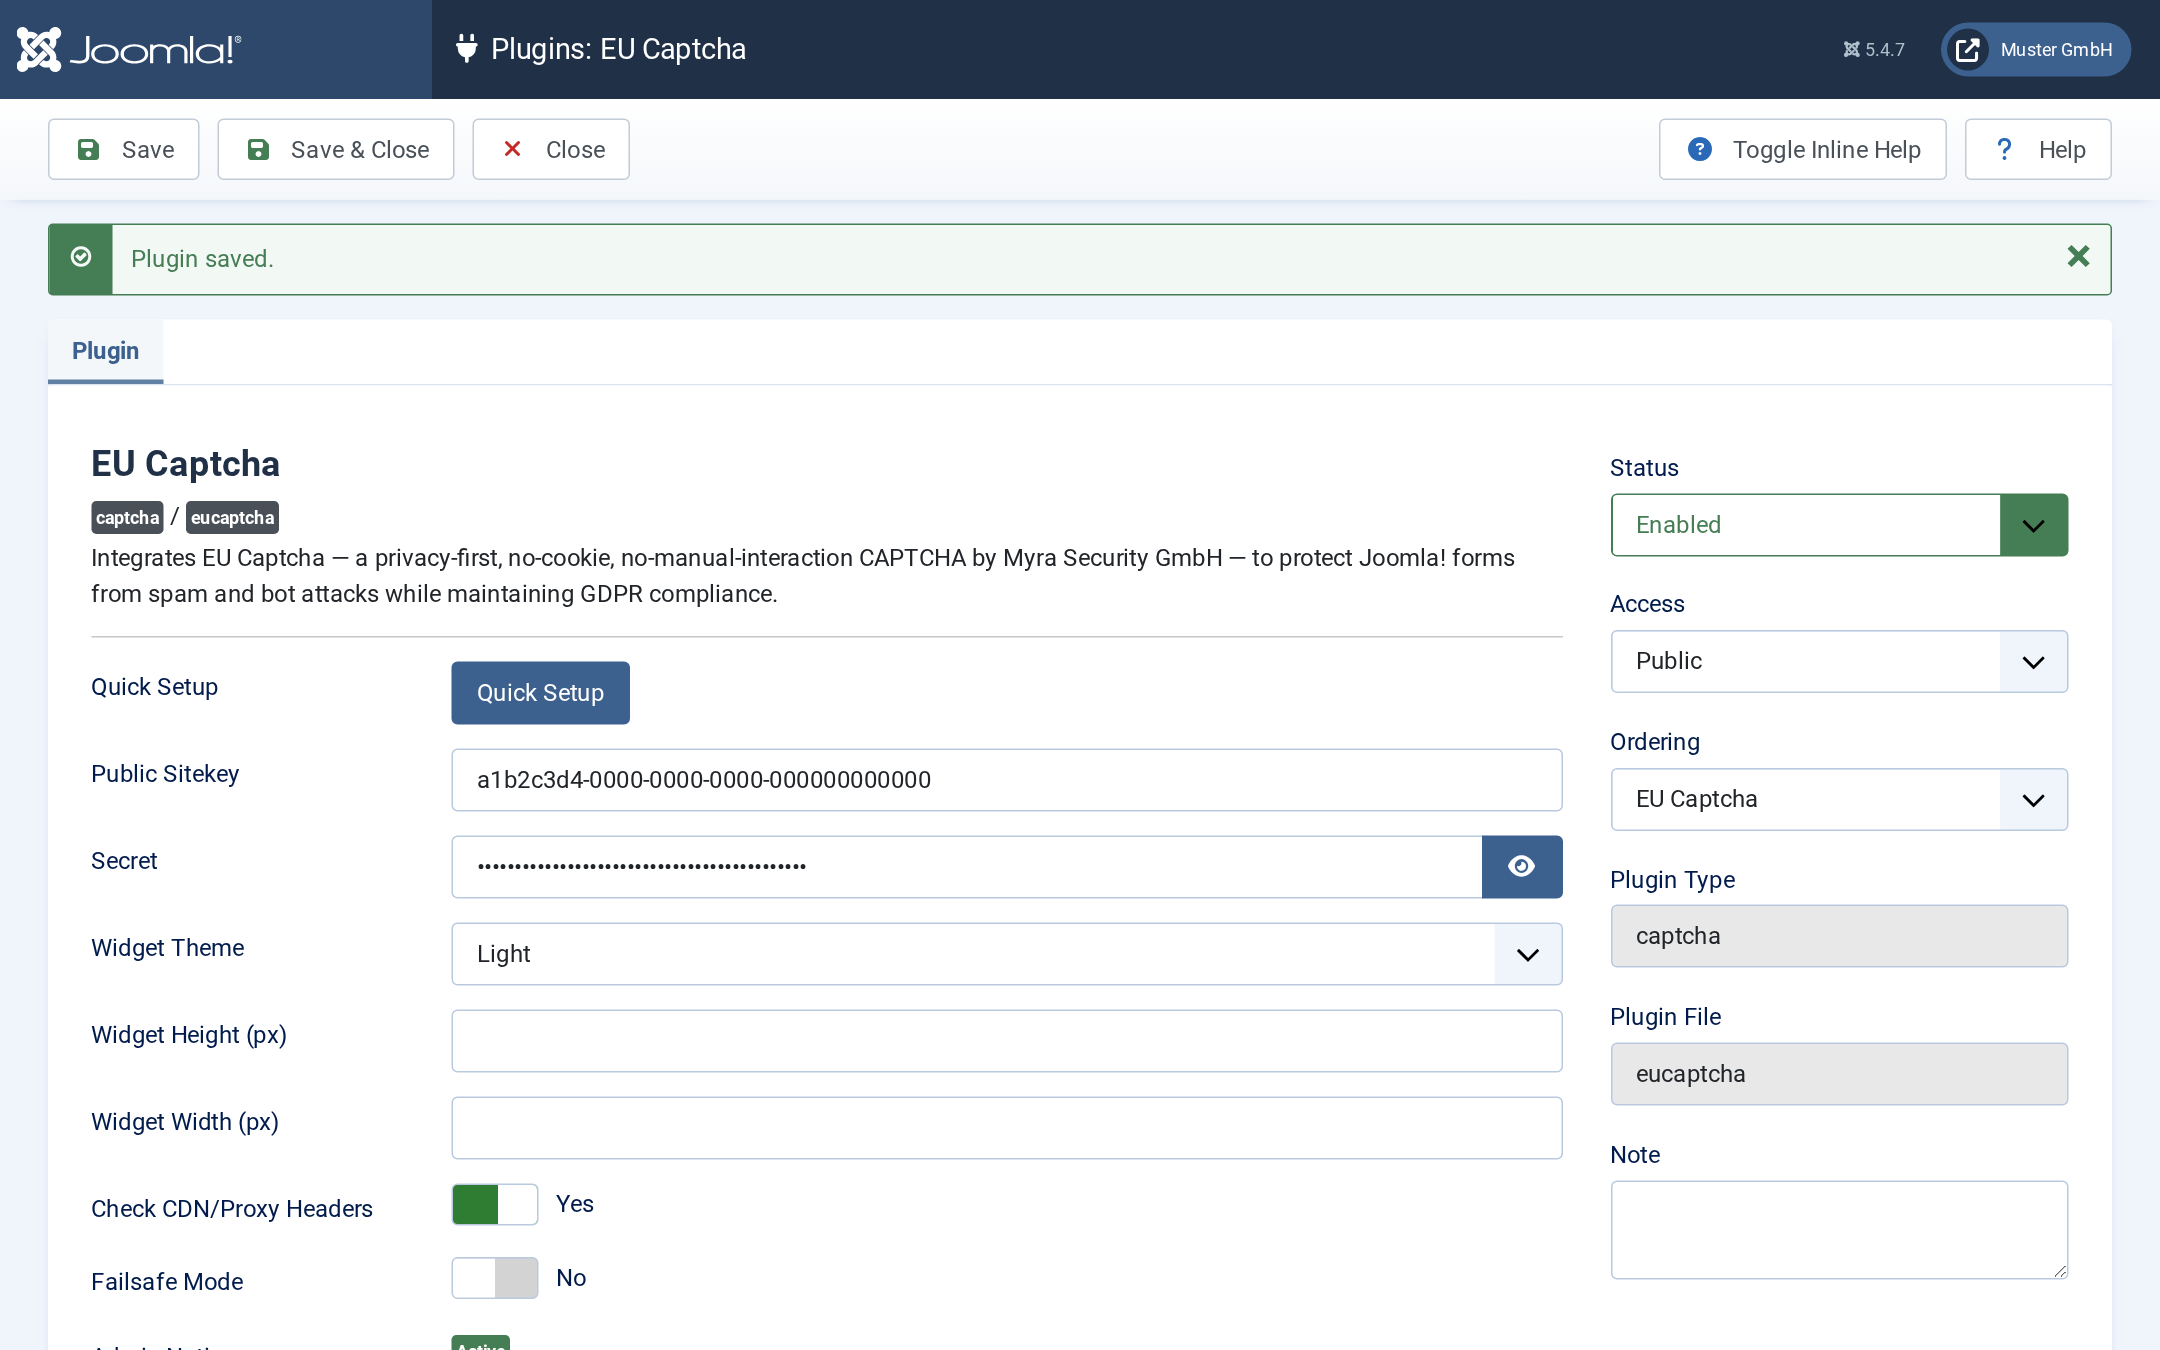
Settings of the plugin after the save operation
As an alternative, enter the available credentials manually:
| Field | Contents |
|---|---|
| Public Sitekey | Public key in the UUID format. The value is permitted in the frontend. |
| Secret | Secret key in the Base64 format. The value stays in the database of Joomla. |
Options of the API
These options are available:
| Option | Default | Effect |
|---|---|---|
| Check CDN/Proxy Headers | Yes | Reads the true IP address of the visitor from the HTTP_CLIENT_IP, HTTP_X_FORWARDED_FOR, or HTTP_X_REAL_IP headers, before REMOTE_ADDR is used. Activate the option if your website is behind a CDN or a load balancer. |
| Failsafe Mode | No | With No, a network error blocks the transmission. With Yes, a transmission error counts as a verification that passed. In the two cases, the plugin refuses invalid tokens. |
Appearance of the widget
These options control the appearance:
| Option | Default | Effect |
|---|---|---|
| Widget Theme | Light | Light or dark appearance, values Light and Dark. |
| Widget Height (px) | empty | Fixed height in pixels, minimum 48. |
| Widget Width (px) | empty | Fixed width in pixels, minimum 1. |
Activate the CAPTCHA
Proceed as follows to activate the CAPTCHA:
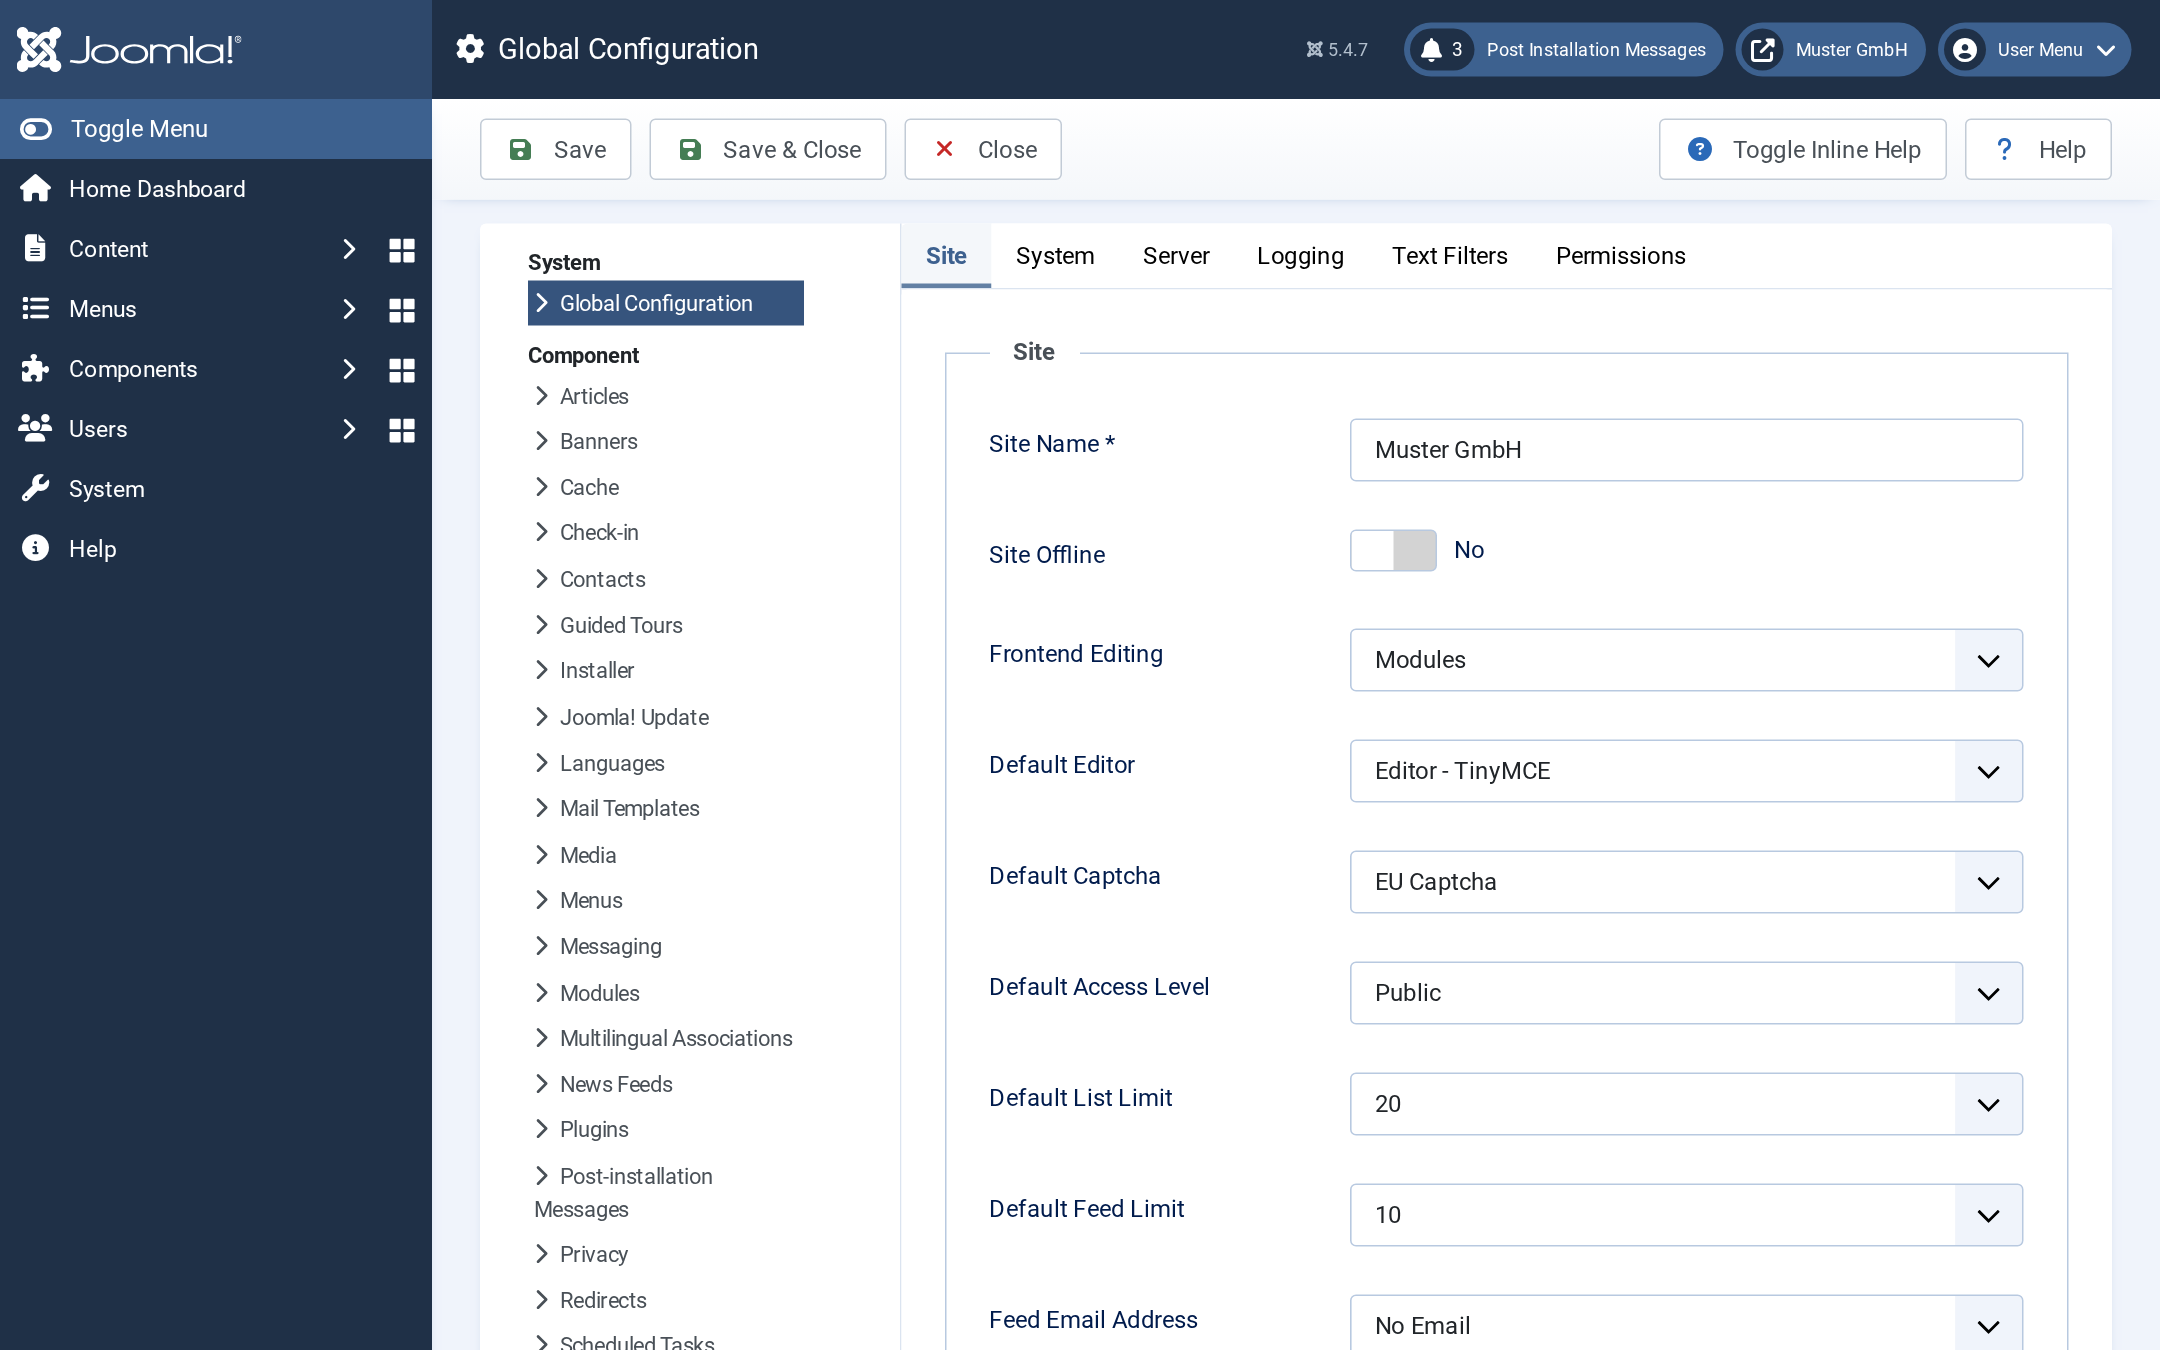
Global Configuration view with the Default Captcha option
- ► Open System → Global Configuration and go to the Site tab.
- ► Set the Default Captcha option to the EU Captcha value.
- ► Click on the Save button.
- ➔ All forms with a CAPTCHA field are protected.
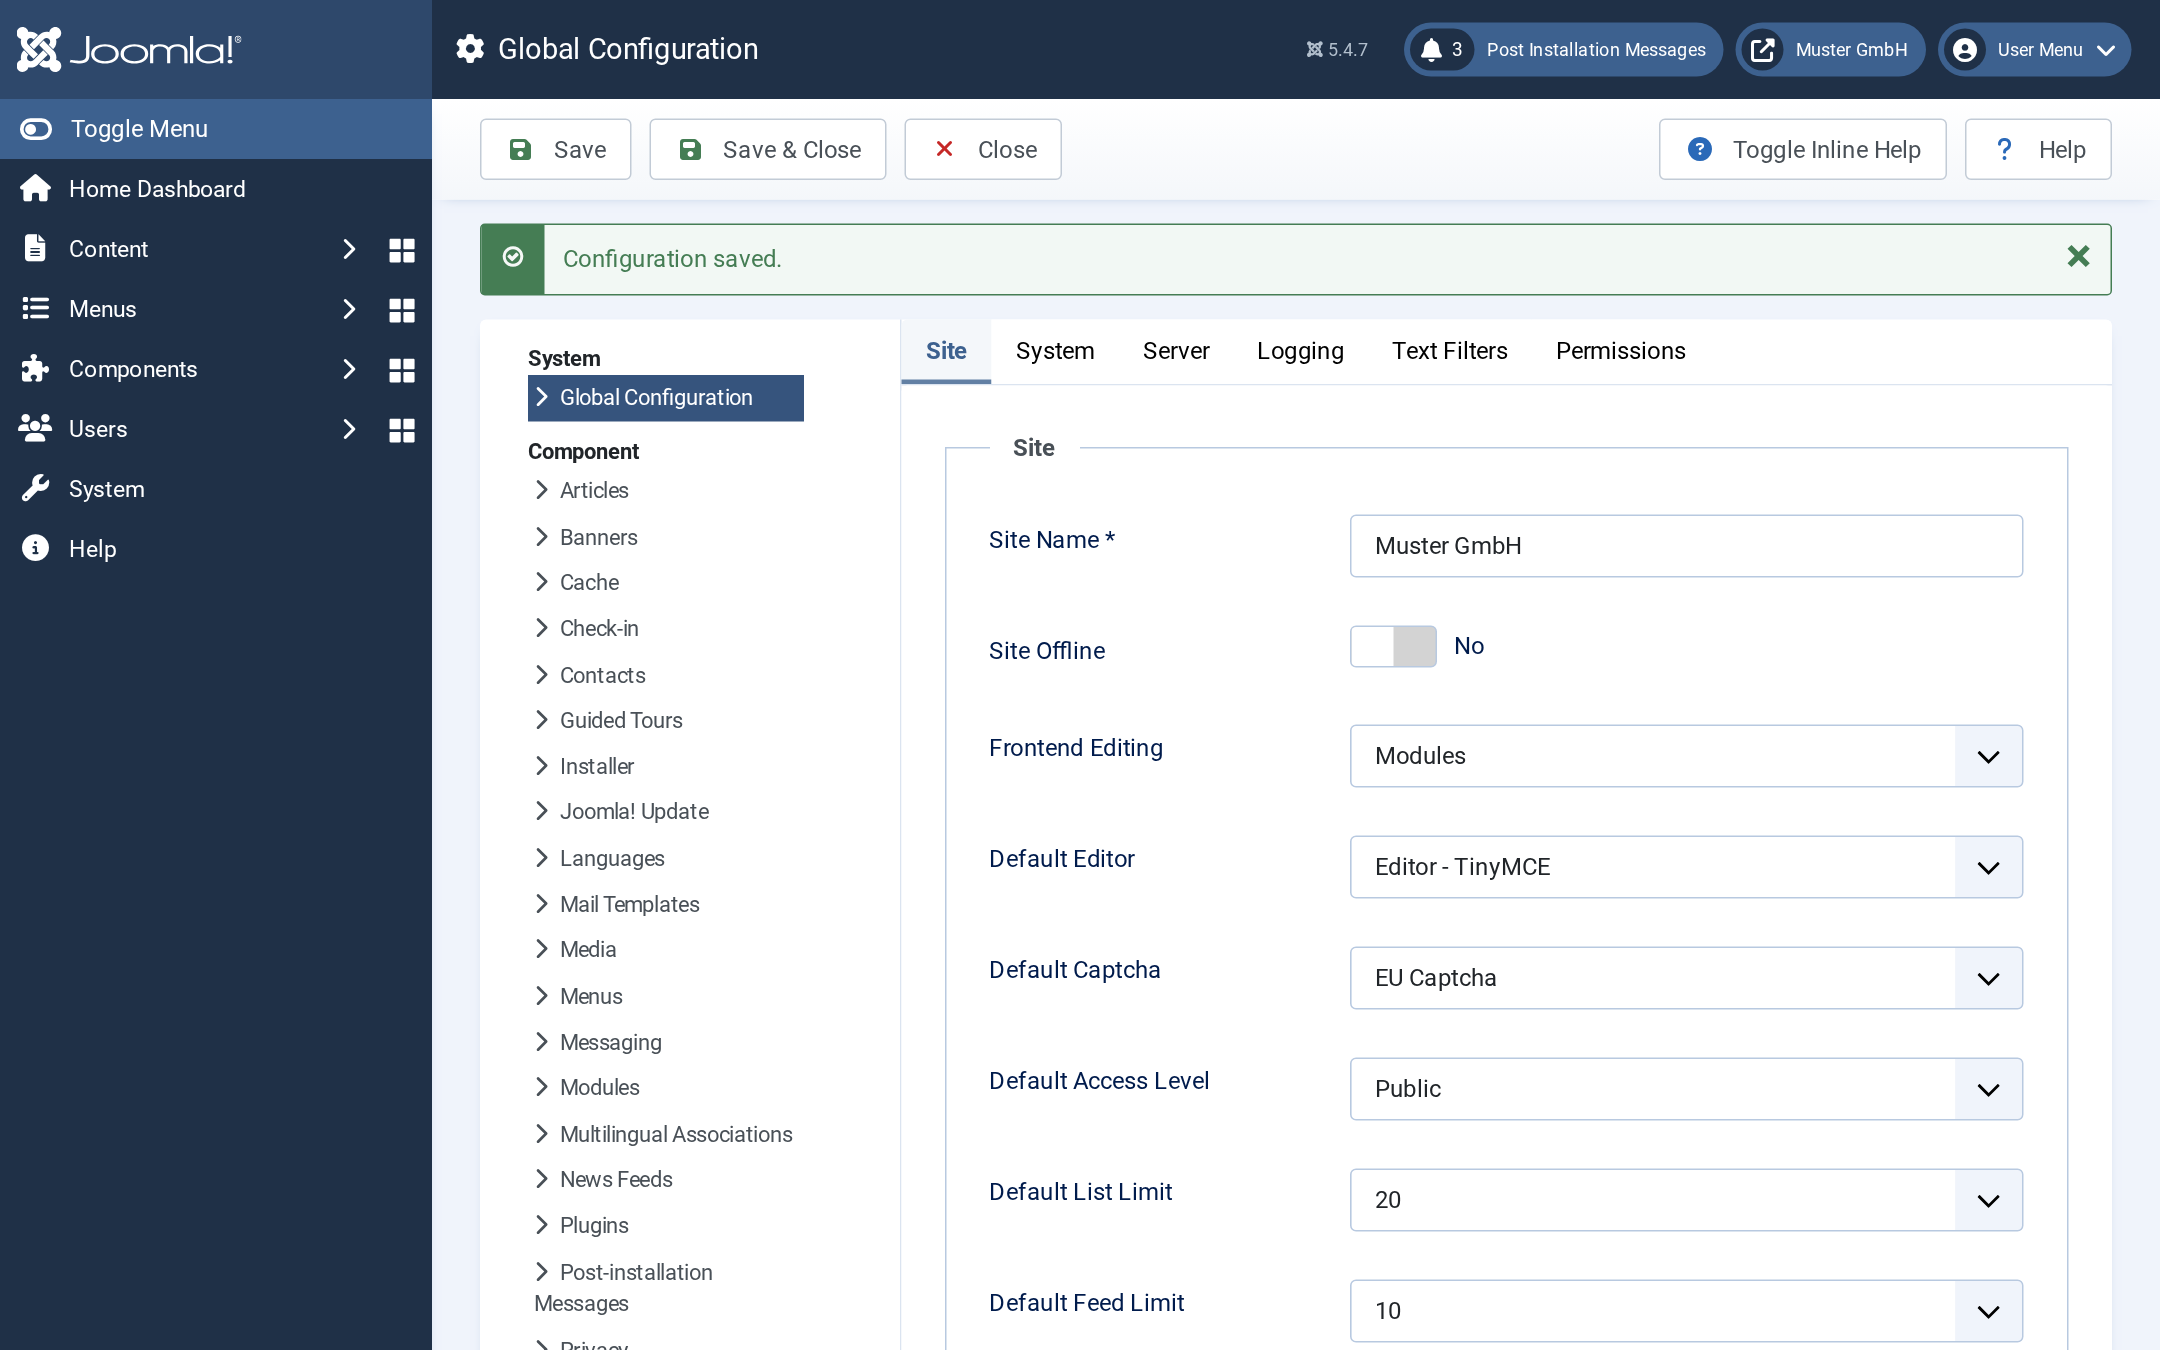
Global Configuration view after the save operation
For the contact form that is included, also activate the CAPTCHA field below Components → Contact → Options in the Form tab.
Protected forms
Each form with a standard CAPTCHA field is protected, for example:
- registration of users
- reset of the password
com_contactcontact component- components of other suppliers with a standard CAPTCHA field