Angular and Java
This example protects the contact form of an application that already exists. The frontend is an Angular application, the backend is a Java server with Spring Boot. Both are already in operation. For the Myra EU CAPTCHA, you change only the files that an arrow marks below.
Requirements
The following requirements must be met:
| Requirement | Value |
|---|---|
| Node.js with npm | installed |
| JDK | Version 17 with Maven or Gradle |
| Sitekey | Public sitekey and secret from the Details view |
Warning
The public sitekey belongs in the frontend, the secret only in the backend. Each visitor can read a secret that is in the delivery package of the frontend.
Project structure
These files change. All other parts of the project stay unchanged:
my-project/
├── frontend/                            # existing Angular application
│   ├── package.json                     # ← Step 1: enter the @myrasec/eu-captcha-angular20 package
│   ├── angular.json
│   └── src/app/
│       ├── app.component.ts
│       └── contact-form.component.ts    # ← Steps 1 and 2: embed the widget, send the token
└── backend/                             # existing Java server (Spring Boot)
    ├── pom.xml                          # ← Step 3: enter the dependency
    └── src/main/java/com/example/
        ├── Application.java
        └── ContactController.java       # ← Step 3: put the verification at the start of the method
Step 1: Embed the widget
The form is in the frontend/src/app/contact-form.component.ts file.
Install the package for your Angular version, here Angular 20:
Put the component in the form and accept the token with the completed event:
import { Component } from '@angular/core';
import { EuCaptchaComponent, isEuCaptchaDone } from '@myrasec/eu-captcha-angular20';

@Component({
  standalone: true,
  imports: [EuCaptchaComponent],
  template: `
    <form (submit)="handleSubmit($event)">
      <input name="email" type="email" required />
      <textarea name="message" required></textarea>

      <!-- (completed) gives the token as soon as the challenge is complete -->
      <eu-captcha sitekey="EUCAPTCHA_SITE_KEY" (completed)="token = $event" />

      <button type="submit">Submit</button>
    </form>
  `,
})
export class ContactFormComponent {
  token = '';
  // handleSubmit follows in step 2
}
The <eu-captcha> selector loads the verify.js script, makes the hidden iframe, and starts the challenge automatically.
An overview of the packages for each Angular version is given in Angular.
Step 2: Send the token
Before the transmission, use isEuCaptchaDone() to examine if the challenge is complete. Then send the token in the eu-captcha-response field of the JSON body:
async handleSubmit(event: Event): Promise<void> {
  event.preventDefault();
  if (!isEuCaptchaDone()) {
    // challenge not yet complete
    return;
  }
  const fields = Object.fromEntries(new FormData(event.target as HTMLFormElement));
  const res = await fetch('/api/contact', {
    method: 'POST',
    headers: { 'Content-Type': 'application/json' },
    body: JSON.stringify({ ...fields, 'eu-captcha-response': this.token }),
  });
  if (res.ok) {
    // success
  }
}
Step 3: Verify the token
The verification belongs in the handler on the server that accepts the form data, here the method for the /api/contact route in the backend/src/main/java/com/example/ContactController.java file. It is in the first position, before all processing.
Enter the dependency in the pom.xml file:
<dependency>
  <groupId>com.myrasec</groupId>
  <artifactId>eu-captcha-java-resttemplate</artifactId>
  <version>1.0.0</version>
  <scope>compile</scope>
</dependency>
Read the JSON body as a Map and put the verification at the start of the method:
import com.myrasec.client.ApiClient;
import com.myrasec.client.api.EuCaptchaApi;
import com.myrasec.client.model.VerifyRequest;
import com.myrasec.client.model.VerifyResponse;

@PostMapping("/api/contact")
public ResponseEntity<String> contact(
        @RequestBody Map<String, String> body,
        HttpServletRequest req) {

    // verification before all processing
    EuCaptchaApi api = new EuCaptchaApi(new ApiClient());

    VerifyRequest request = new VerifyRequest()
            .sitekey(System.getenv("EUCAPTCHA_SITE_KEY"))
            .secret(System.getenv("EUCAPTCHA_SECRET_KEY"))
            .clientIp(req.getRemoteAddr())
            .clientToken(body.get("eu-captcha-response"))
            .clientUserAgent(req.getHeader("User-Agent"));

    VerifyResponse response = api.verifyClientToken(request);
    if (response.isTrainingMode() || !Boolean.TRUE.equals(response.getSuccess())) {
        return ResponseEntity.badRequest().body("captcha verification failed");
    }

    // the existing logic continues from here
    String email = body.get("email");
    String message = body.get("message");
    return ResponseEntity.ok("Thank you!");
}
Note
The value of the eu-captcha-response field goes into the request as clientToken. Keep the sitekey and the secret in environment variables, from which System.getenv reads them.
Warning
Training mode is effective for an unknown sitekey, for a wrong secret, and for a sitekey with the train setting. In this condition, the example rejects the transmission. Thus, a wrong configuration does not go through without a verification.
See Java.
Verify the integration
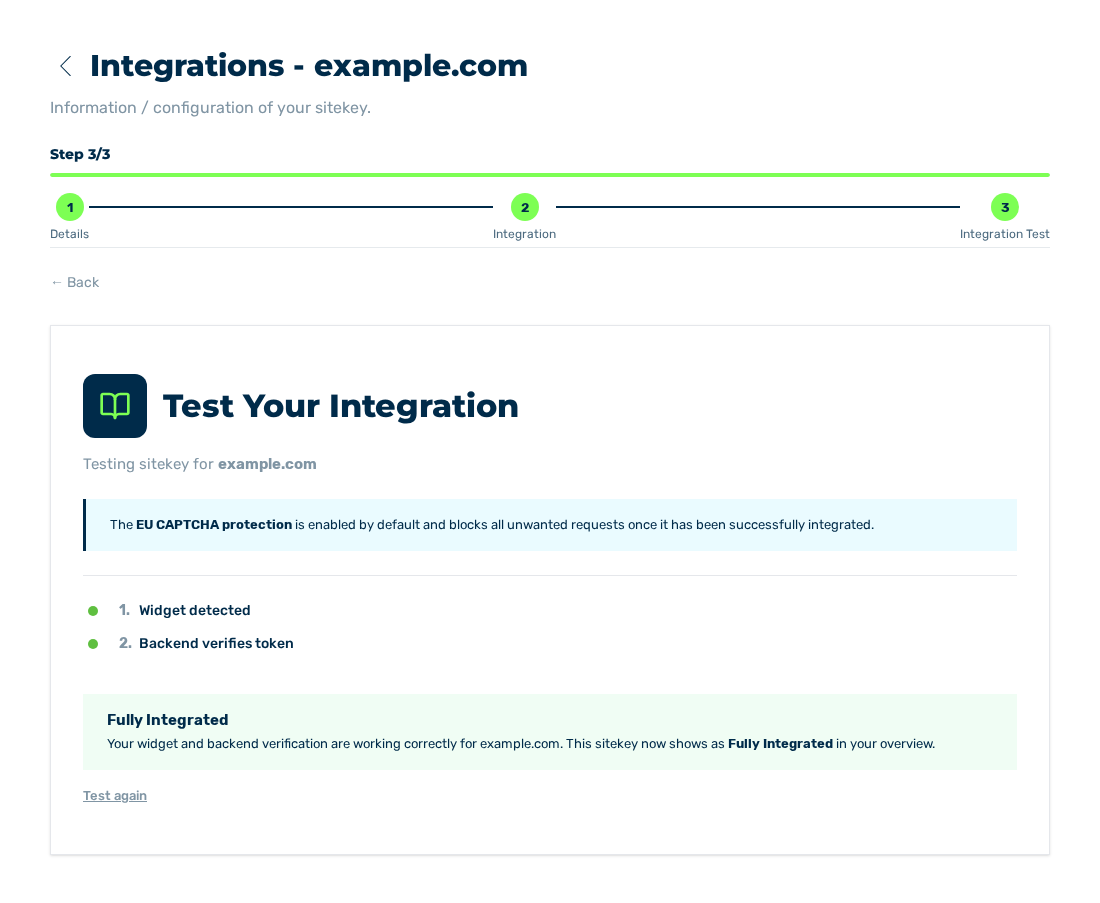
Integration Test view with the Fully Integrated result
At the end, use the Integration Test view of the sitekey to examine if the frontend and the backend operate together. Then the sitekey has the Fully Integrated status.